By Donell Irungo
The VacoPed Pro is a specialised boot designed to aid in the recovery of foot and ankle injuries, such as Achilles tendon ruptures, severe sprains, and post-surgery support. This guide will walk you through the setup, adjustment, and daily use of your VacoPed Pro to ensure optimal healing and comfort.
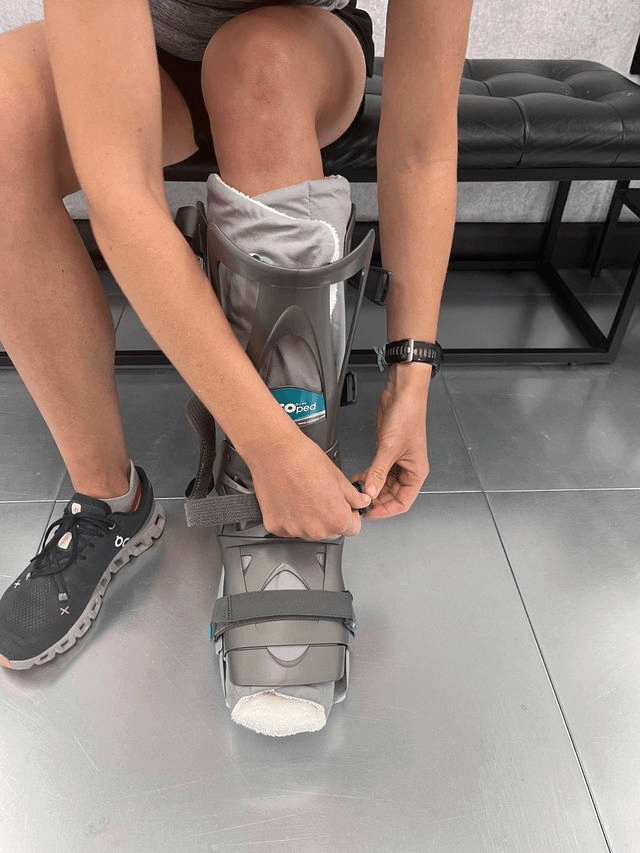
Wear a Cotton Sock: Begin by putting on a cotton sock over your injured foot. This helps protect your skin and provides a comfortable layer between your foot and the boot.
Unfasten All Straps: Completely open the VacoPed Pro boot by unfastening all the straps. Ensure the vacuum cushion inside the boot is flat and evenly distributed.
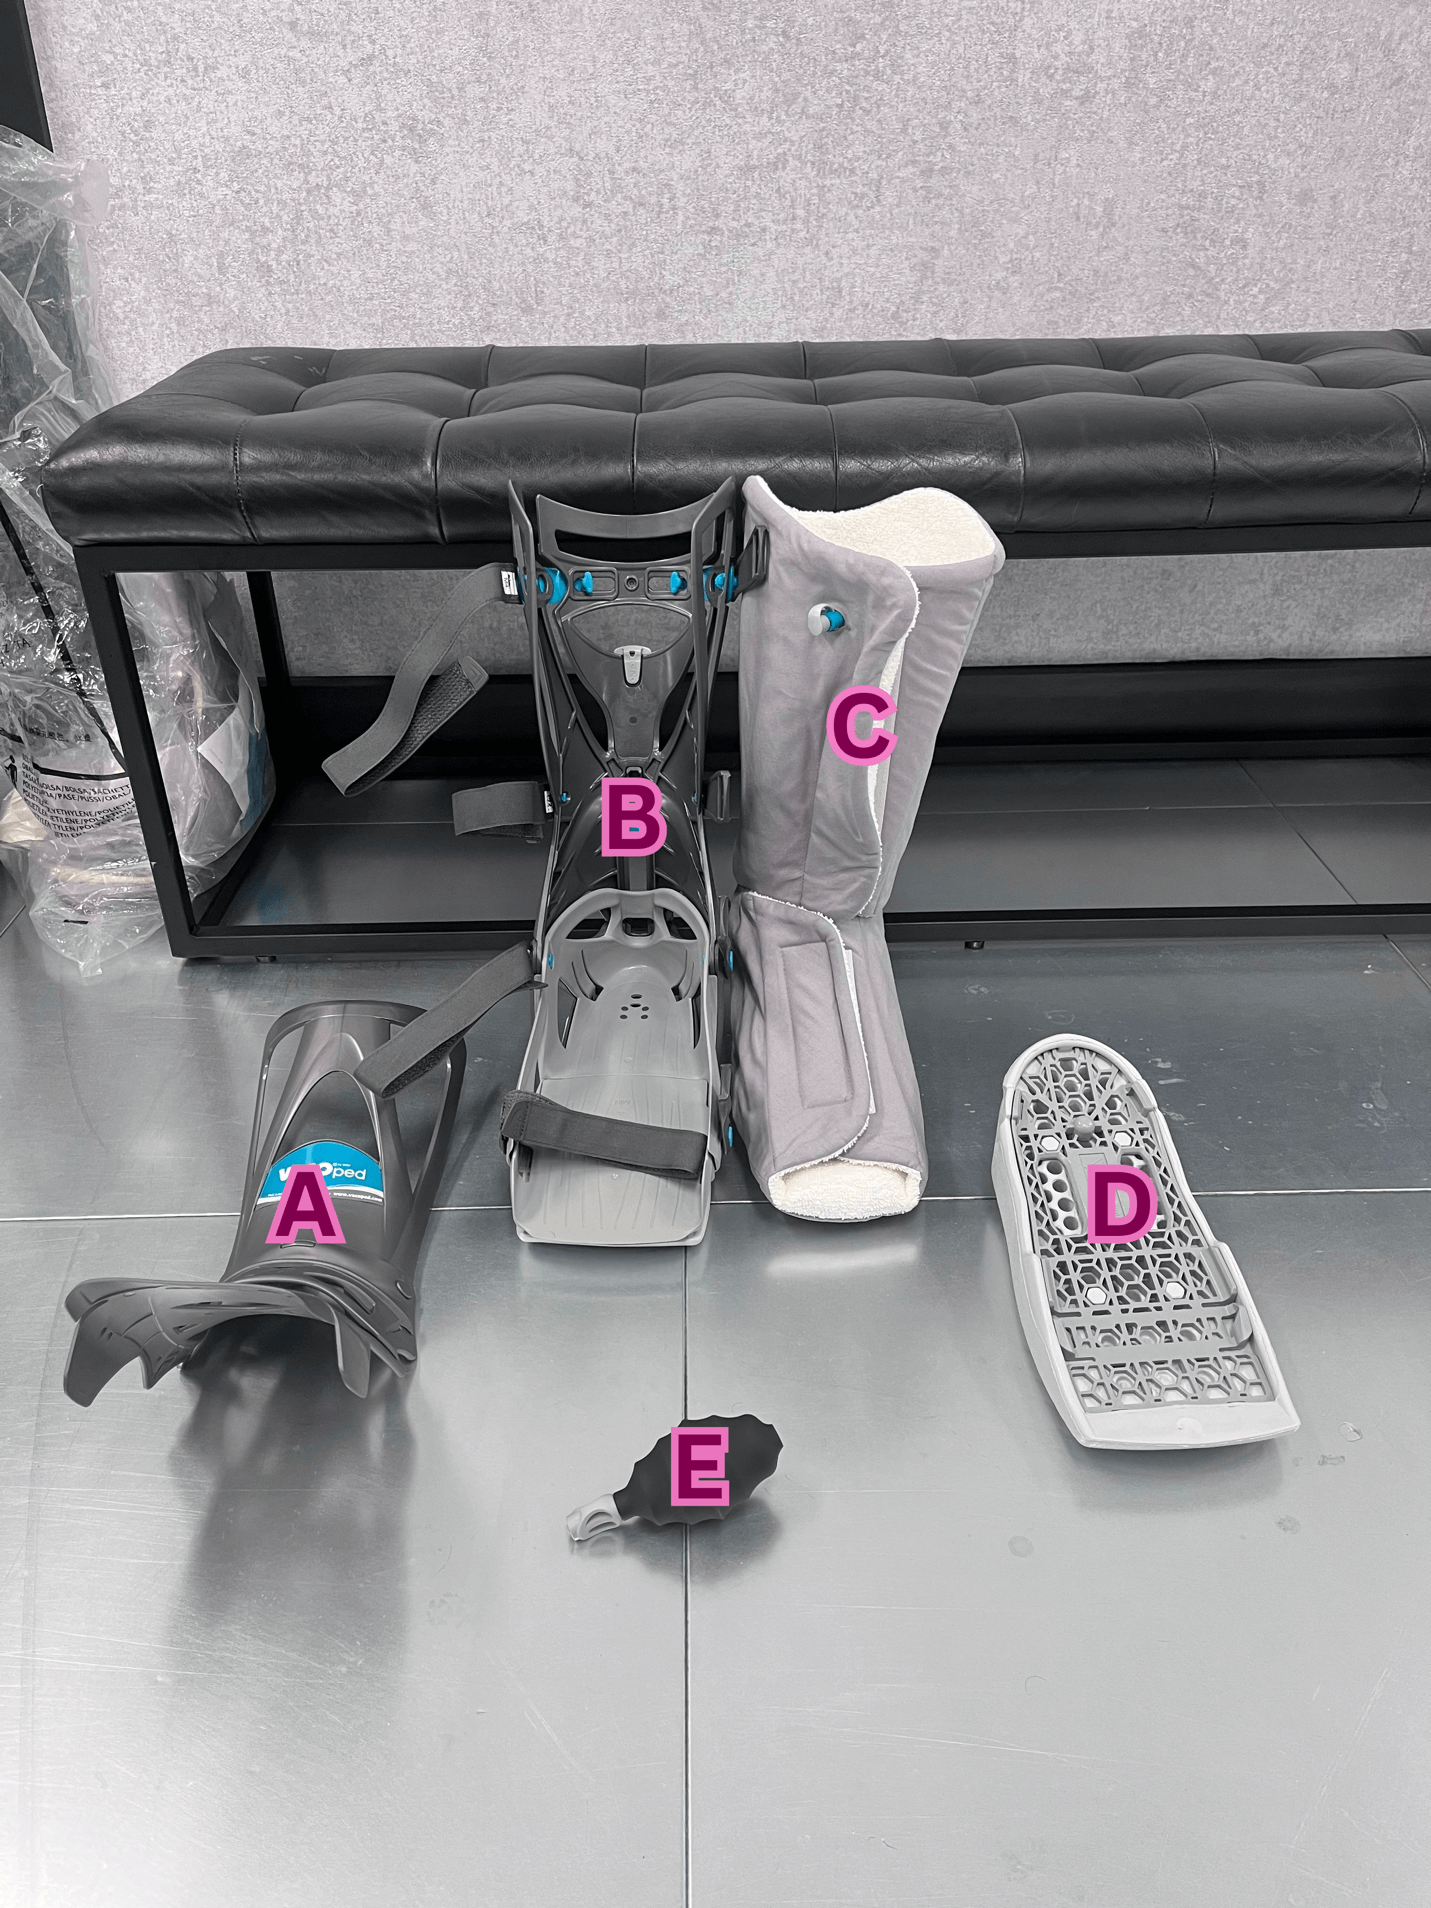
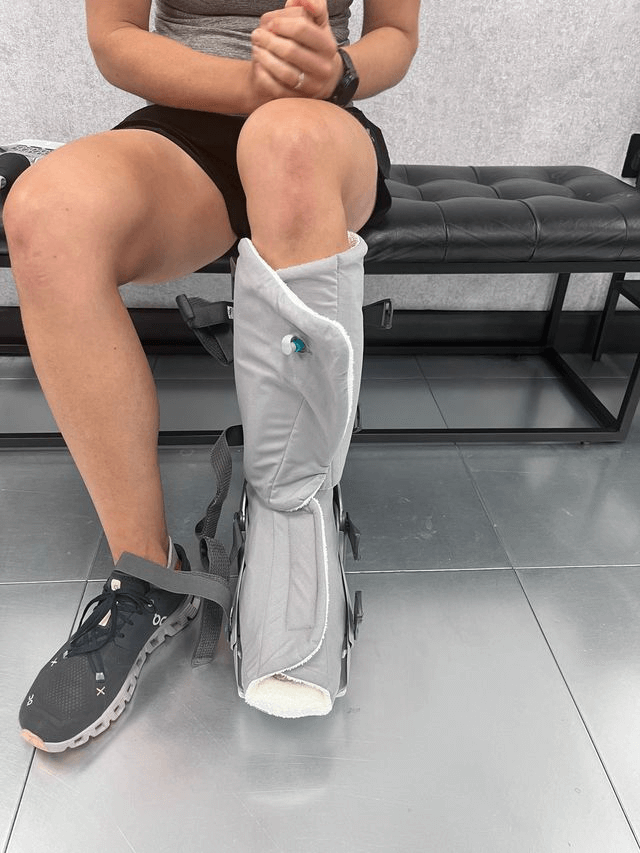
Wrap the Liner: Carefully wrap the liner over the front of your foot, making sure to smooth out any wrinkles for an even fit. (C)
Sit and Align: Sit down and straighten your leg. Place your heel firmly against the back of the boot, ensuring it is well-positioned and supported. (B)
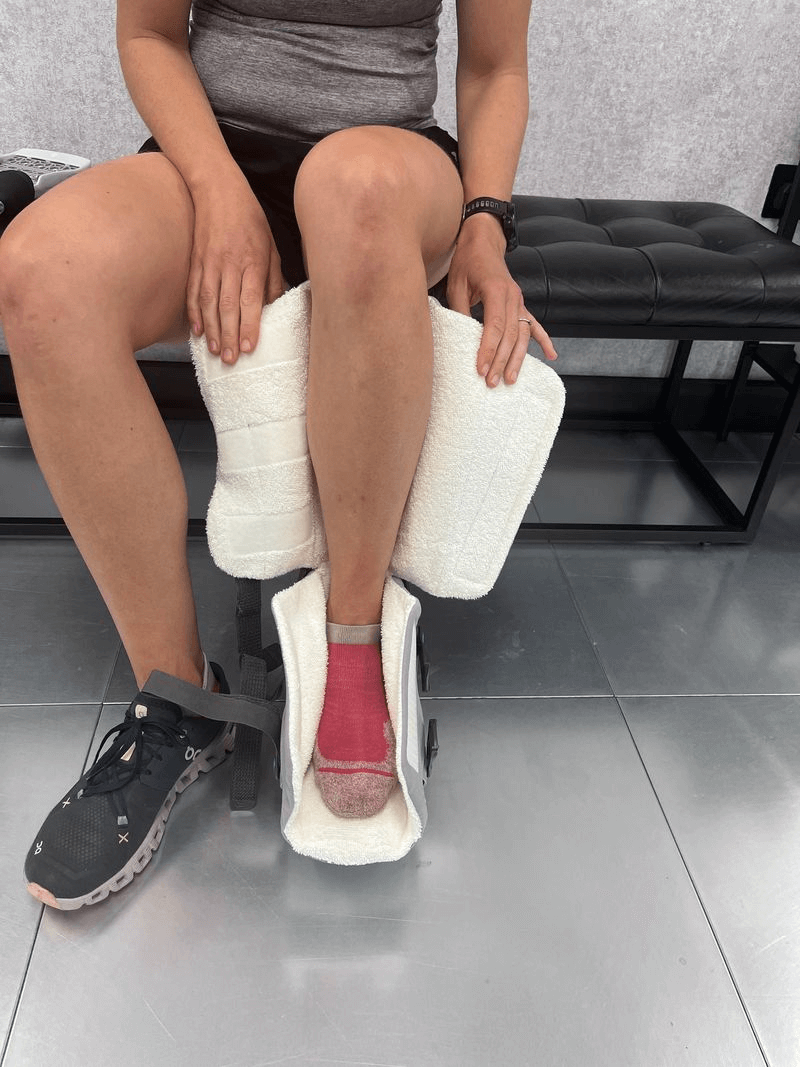
1. Place the Plate: Position the protective plate over your shin and the top of your foot. (A)
2. Wrap: Tuck the plate into the boot and wrap the straps around the boot, securing the plate in place.
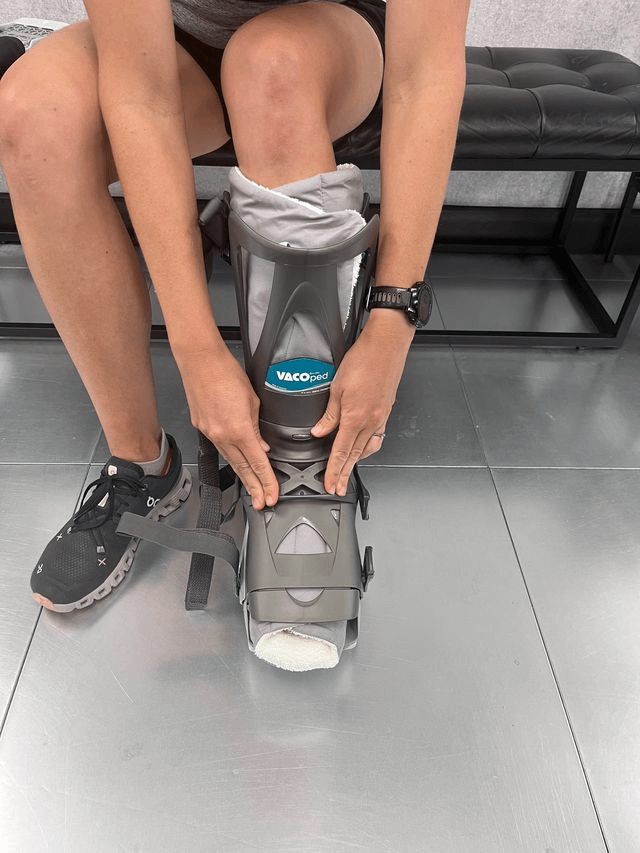
Adjust the Straps: Start from the bottom and work your way up, tightening each strap to ensure the boot is snug but not overly tight. This provides the necessary support and prevents slippage.
Creating the Vacuum Fit
1. Pump the Air Out: Use the built-in hand pump to remove air from the cushion, creating a vacuum that molds the cushion to the shape of your foot. (E)
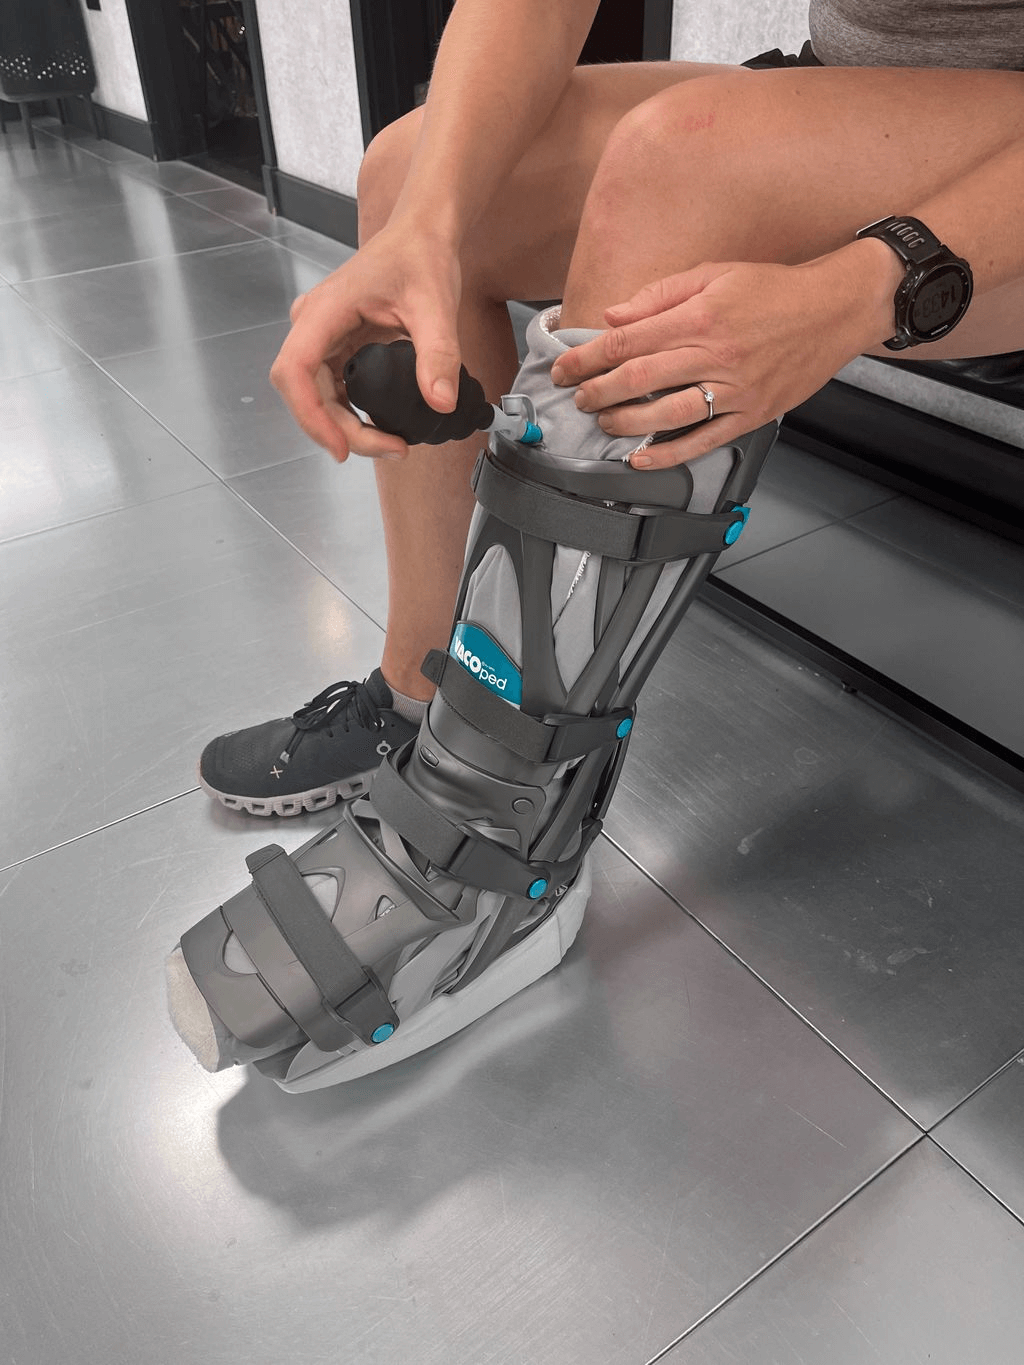
2. Check the Fit: Ensure the boot feels secure and comfortable. If it’s too tight, release some air to adjust.
Please refer to the video below to provide you with an active demonstration of putting on the VacoPed Pro boot.
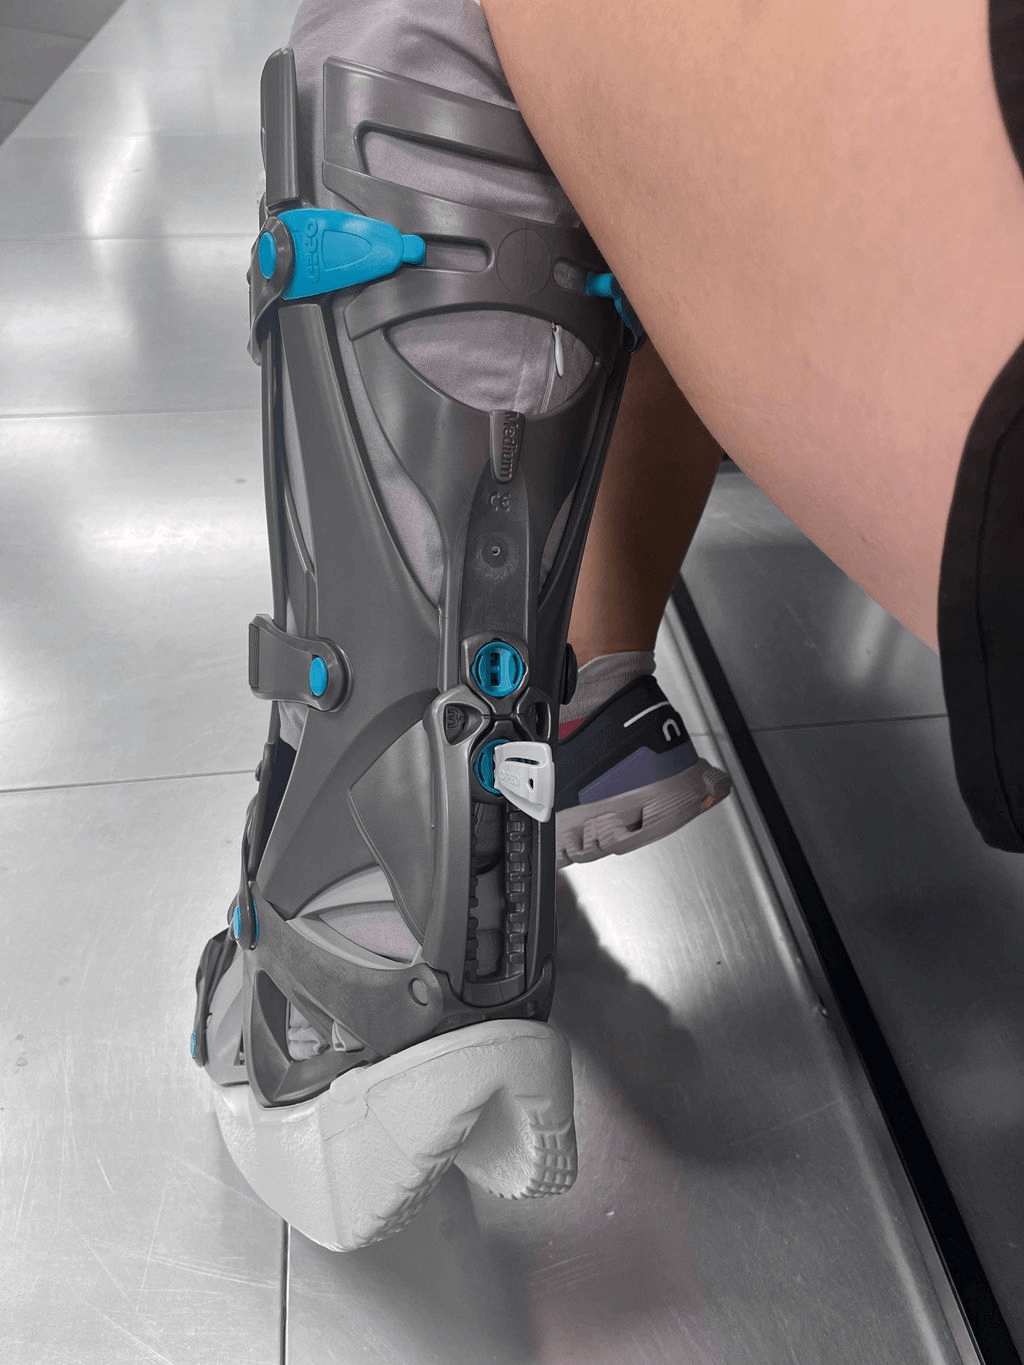
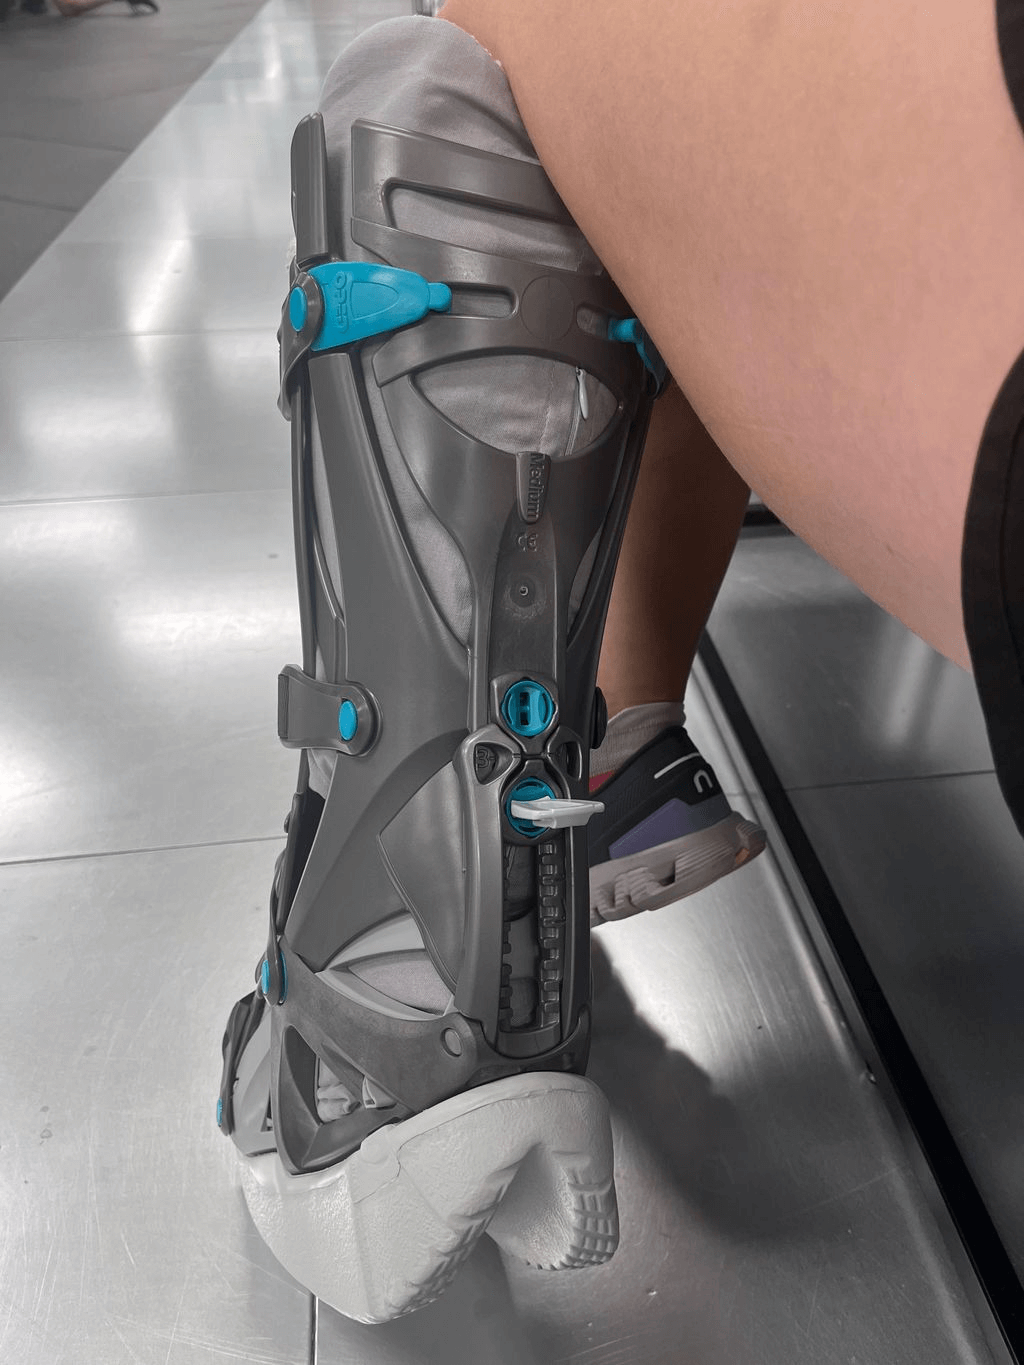
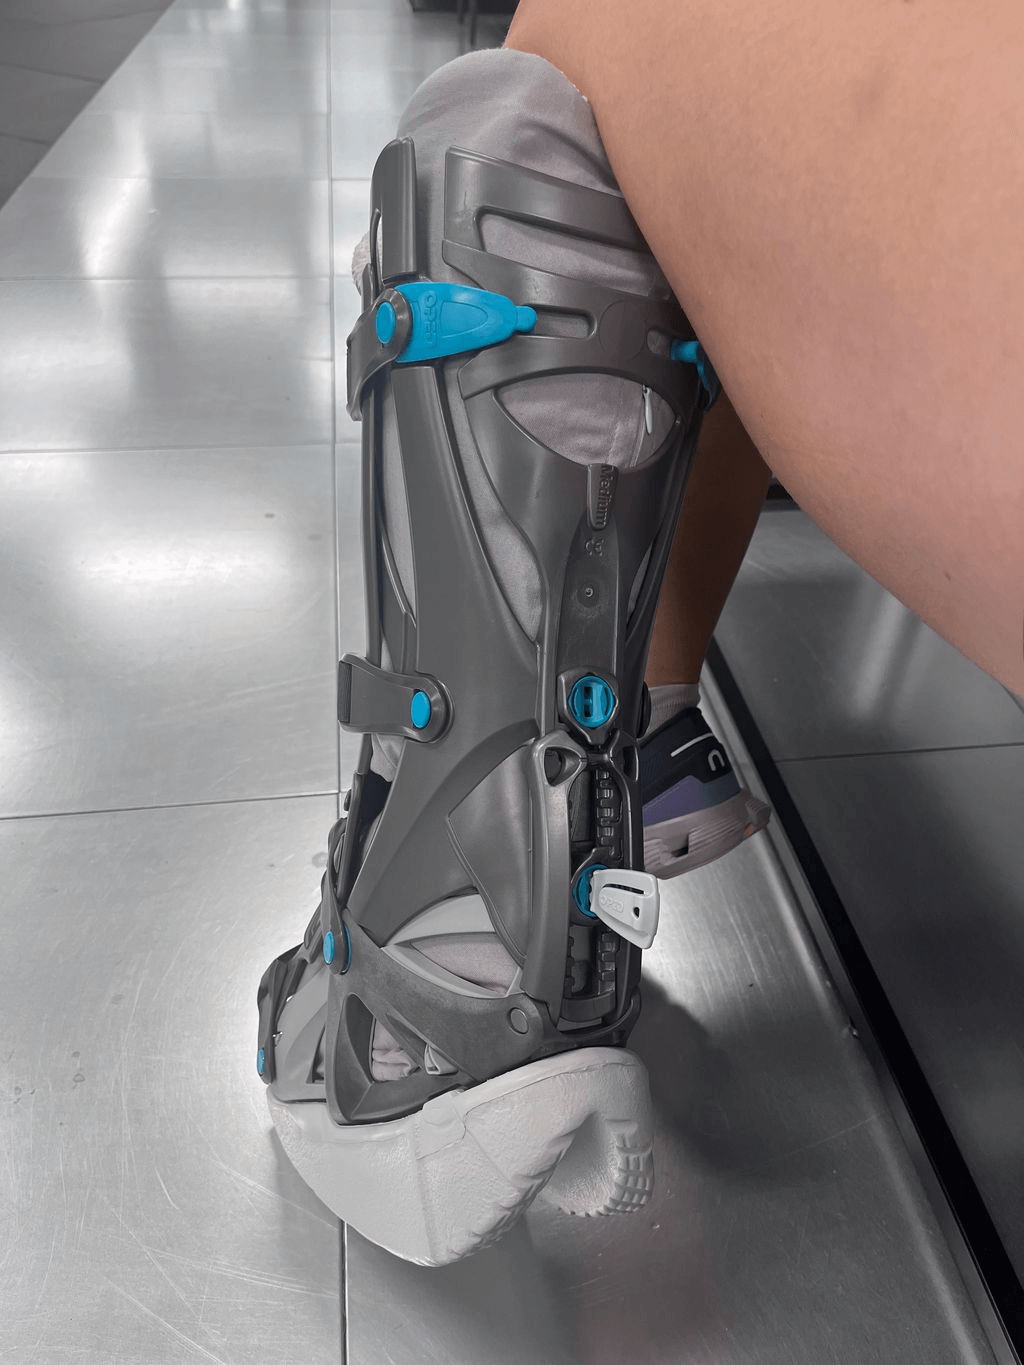
The rocker sole is an important component of the VacoPed Pro, used to adjust the height and angle of your foot. This is particularly crucial for conditions like Achilles tendon ruptures, where a specific angle of plantarflexion (the downward pointing of the foot) is necessary.
1. Changing the Rocker Sole: If your recovery requires a different sole, simply remove the current rocker sole by pressing the two buttons on the heel and then slide forwards. (D)
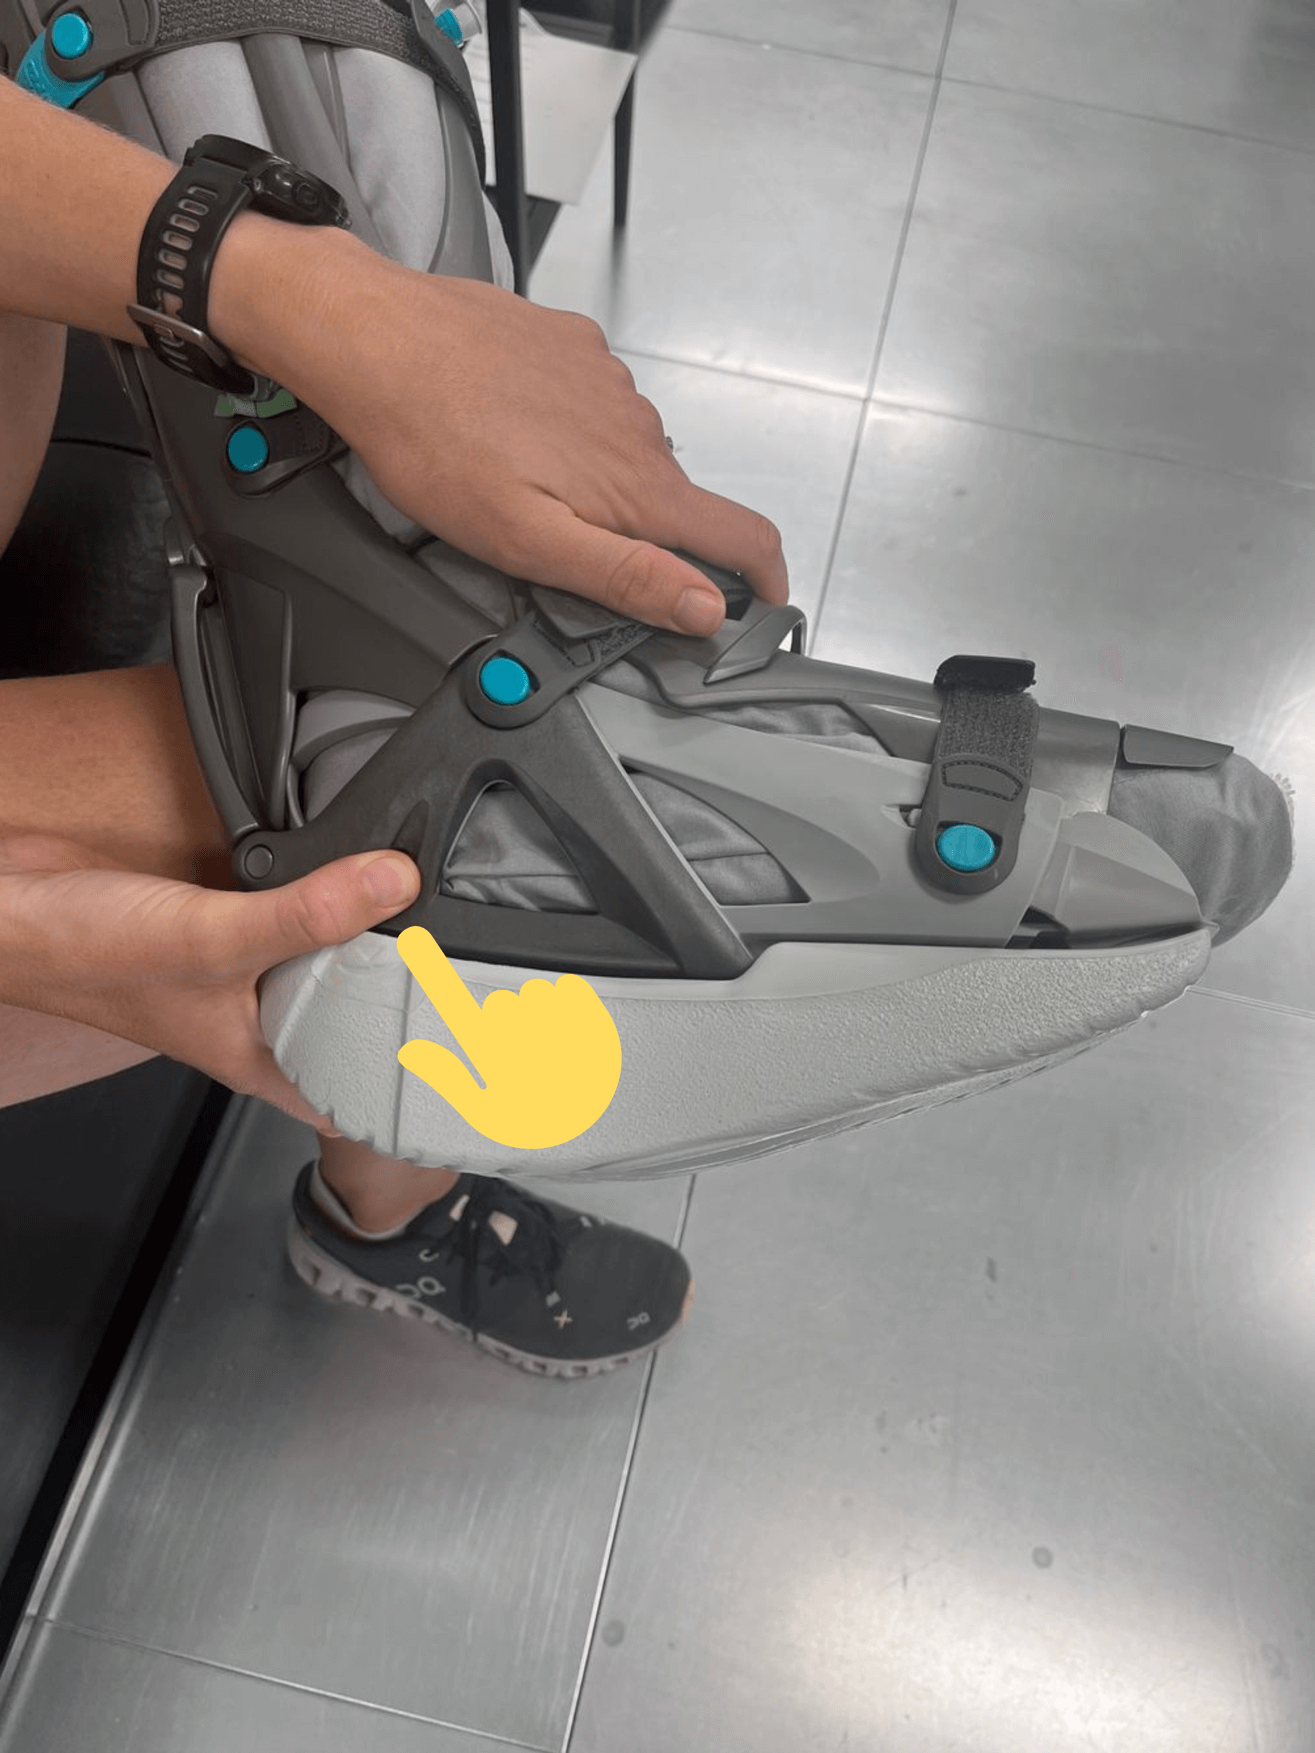
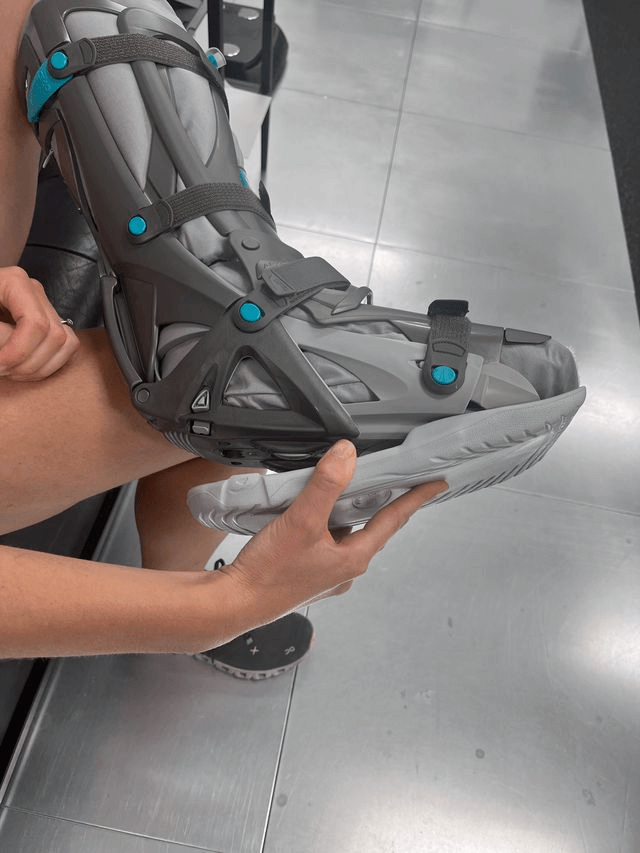
2. Fitting Flat Sole: Ensure the flat sole is securely attached. Slide on from the front before clipping in at the heel. Then you should hear a click when attaching the flat sole.
Please refer to the video below to provide you with an active demonstration of changing the rocker sole.
Plantarflexion refers to the downward angle of your foot, crucial for conditions like Achilles tendon injuries.
1. Determine the Angle: Follow your healthcare provider's recommendation for the angle of plantarflexion.
2. Adjust the Footplate:
2.1 Unlock the Footplate: Locate the locking mechanism (usually a dial) and the key on the back of the boot. Insert the key into one of the dials and rotate clockwise to unlock it
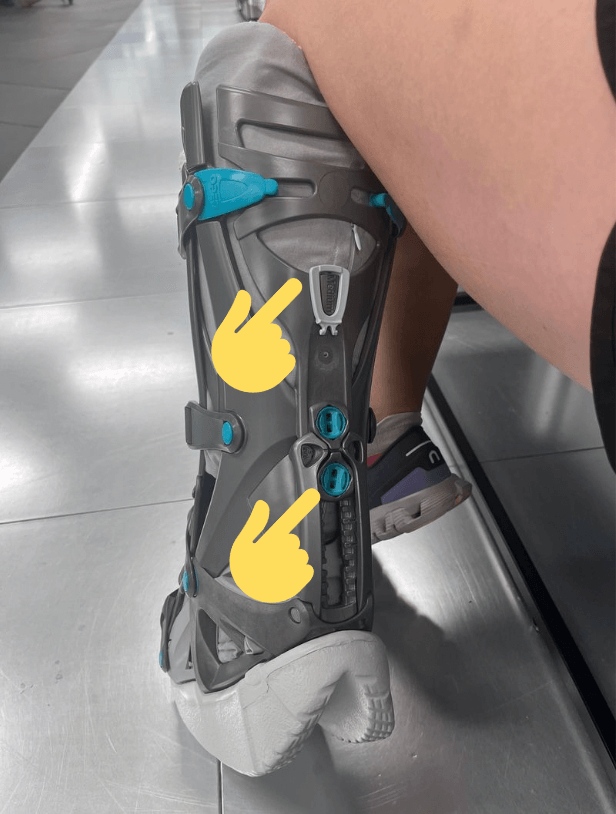
2.2 Set the Angle: Adjust to the recommended angle. The back of the boot has markings to help guide you (each marking represents 5 degrees of motion). To adjust, turn dial, tilt it then glide down to desired position.
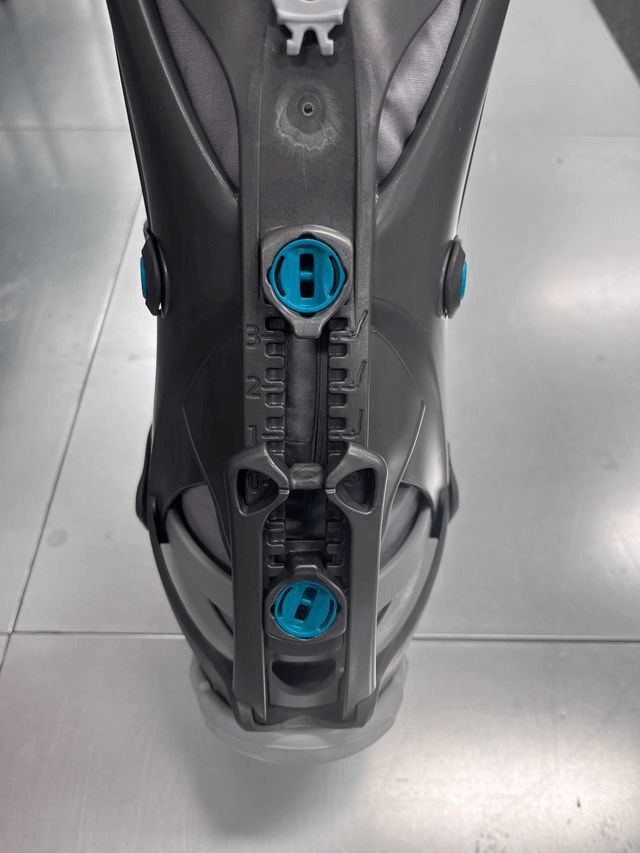
2.3 Lock the Boot: Once set, secure the boot by turning the dial anti clockwise to lock it. Ensure it’s locked firmly to maintain the angle.
3. Re-tighten the Straps: After adjusting the angle, re-tighten the straps to ensure the boot is snug and the foot is properly supported.
Please refer to the video below to provide you with an active demonstration of adjusting the angle of plantarflexion.
To deflate the vacuum cushion, follow these steps:
1. Locate the Valve: Find the valve used for the vacuum cushion. This is a small nozzle at the front of the liner.
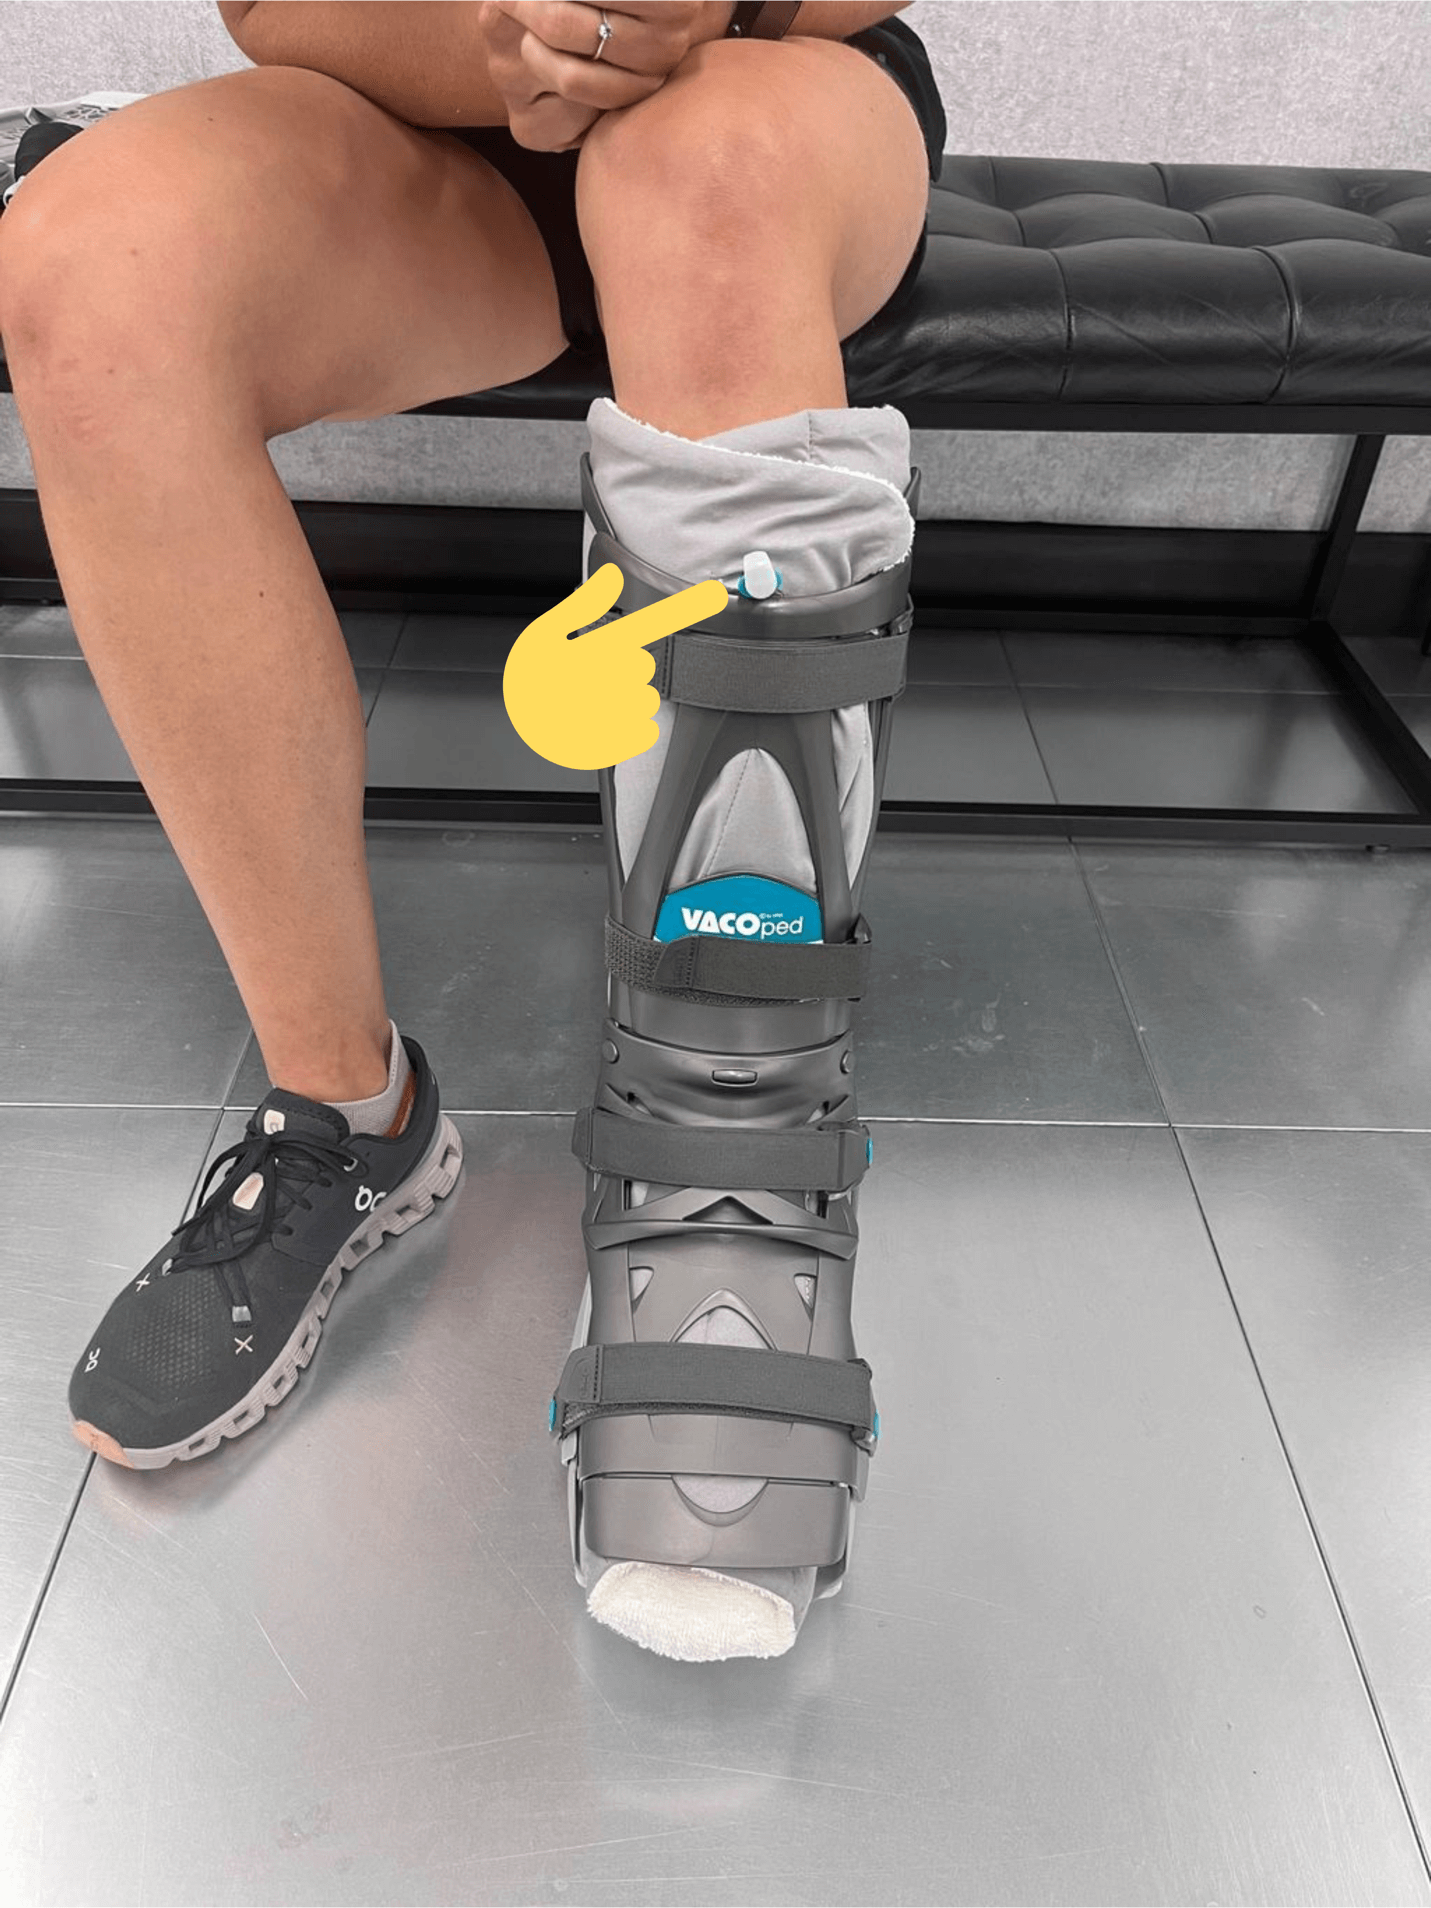
2. Release the Air: Open the valve and pull the nozzle away from the boot to allow air to flow back into the cushion.
3. Ensure Complete Deflation: Wait until all air has entered the cushion, and the vacuum seal is fully released.
4. Check for Comfort: After deflation, ensure that the boot feels comfortable and the vacuum cushion is not overly compressed.
1. Daily Checks: Check the straps and vacuum cushion daily to ensure they provide proper support and comfort.
2. Re-Pump if Necessary: If the vacuum cushion loses its fit, use the hand pump to adjust the vacuum seal.
3. Monitor for Changes: Pay attention to any changes in swelling or discomfort, adjusting the straps as needed.
1. Loosen if Necessary: Slightly loosen the straps or release some air if you feel discomfort or increased pressure.
2. Tighten if Loose: Tighten the straps or pump out more air if the boot feels loose.
Deflate the Cushion: Open the valve to allow air back into the cushion, releasing the vacuum seal.
Undo the Straps: Loosen all straps from top to bottom to prepare for removal.
Gently Slide Out: Carefully slide your foot out of the boot to avoid disrupting the healing process.
Please refer to the video below to provide you with an active demonstration of taking off the VacoPed Pro boot.